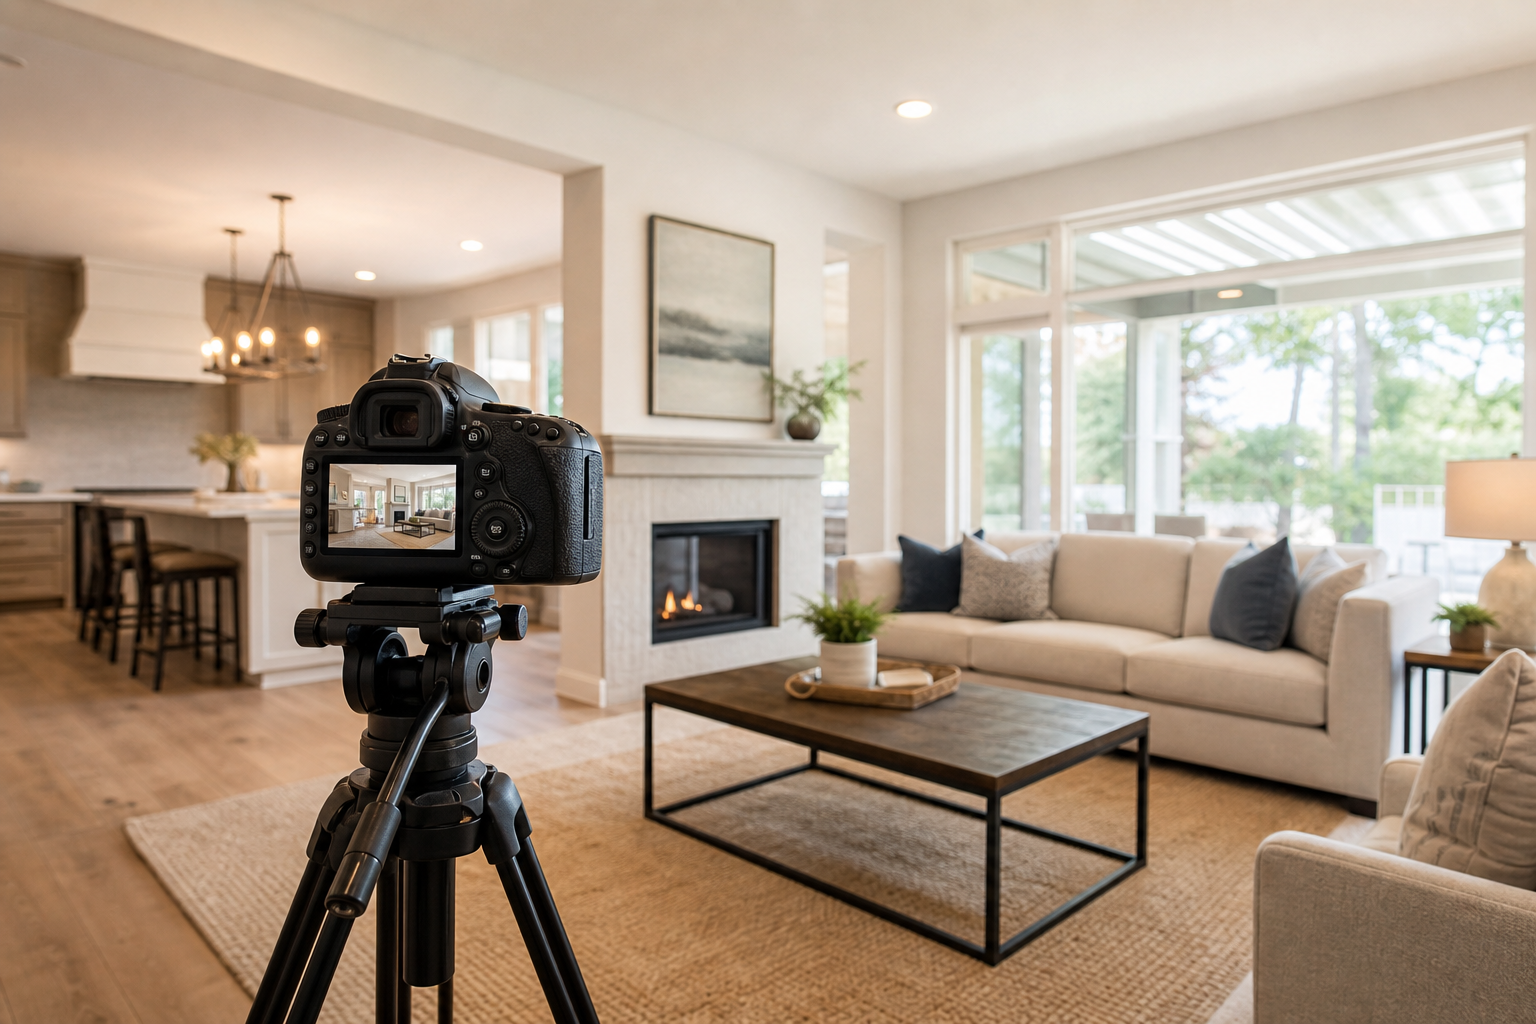
Need tips on: how to prepare a home for listing photos?
Why photo prep matters right now
Online listing photos are most buyers' first impression of your property. Poor images can stop a buyer from clicking the listing or booking a showing. Photographers and listing specialists consistently report that preparation—cleaning, decluttering, and staging—has a bigger impact on perceived space and light than camera gear alone. For practical examples and priorities, photographers and staging services publish room-by-room checklists and shot lists that show how preparation changes final images.
48-hour timeline: two-day prep checklist
Use this ordered plan for tasks to complete 48 to 24 hours before the photographer arrives. Finishing these steps ahead of time makes the photo day faster and improves final images.
- Deep clean high-visibility surfaces: windows, mirrors, counters, sinks, appliances, and baseboards. Clean windows inside and out if possible.
- Declutter surfaces and floors: remove excess décor, small appliances, shoes, and toys. Put items in labelled boxes or storage bins for staging return.
- Tackle small repairs: tighten cabinet handles, touch up scuffs with a matching paint pen, fix loose outlet covers and replace burnt-out bulbs.
- Window treatments: open blinds and curtains for natural light; remove heavy valances or dark liners that absorb light.
- Curb appeal: mow, rake, clear pathways, wipe porch lights, and tidy planters so exterior photos look maintained.
- Stage focal points: set a clean dining table, fold a throw on the couch, and add fresh towels in bathrooms. Keep styling neutral and minimal.
- Collect personal items: remove family photos, medicine, and sensitive documents from view.
- Prepare a photographer sheet: note best light windows, access points, parking, alarm codes, pets, and high-priority shots. A simple one-page sheet avoids delays.
For room-by-room prompts and a sample shot list, many agents and photographers rely on established industry checklists that cover pre-shoot prep and camera shot lists.
Same-day quick checklist: last-minute fixes the morning of photos
If you have only a few hours, focus on high-impact tasks the photographer will notice first.
- Turn on all main lights, set the thermostat to a comfortable temperature, and switch off ceiling fans unless used for stylistic effect.
- Open curtains and blinds fully where the view is good; close them where the view or neighbours are distracting.
- Remove garbage bins, recycling, and visible pet bowls. Hide small cleaning supplies and trash cans.
- Wipe fingerprints off glass, doors, and stainless steel with microfiber cloths.
- Contain pets and secure leashes, carriers, and litter boxes out of frame. Notify the photographer about pets in the house.
- Clear countertops to a few curated items: a vase, a bowl of fruit, or a cutting board—but avoid clutter.
- Park off-street if possible so the photographer can shoot the frontage without cars in the frame.
Room-by-room priorities: an eight-room photo checklist
Address these eight priority areas in order; each entry lists what to declutter, what to highlight, what to hide, and one camera-friendly staging tip.
1) Exterior and curb appeal
- Declutter: remove toys, tarps, loose tools, and bins from the yard and driveway.
- Highlight: clean siding, trimmed hedges, and a swept porch.
- Hide: parked cars and visible hoses or ladders.
- Staging tip: add a neutral welcome mat and a pair of potted plants for symmetry.
2) Entryway and first impressions
- Declutter: shoes, mail, and personal items.
- Highlight: swept floor, working light, tidy coat hooks or closet doors closed.
- Hide: family photos, excess keys or dog leashes.
- Staging tip: use a simple runner and one decorative object like a small plant or bowl.
3) Living room and family room
- Declutter: remotes, magazines, children’s toys, and visible cords.
- Highlight: clean seating, fluffed cushions, cleared coffee table with a single curated item.
- Hide: personal collections, overflowing bookshelves, exercise equipment.
- Staging tip: angle furniture to create a sense of depth and keep pathways clear for the camera.
4) Kitchen
- Declutter: remove small appliances, dish racks, magnets from the fridge, and visible dishes.
- Highlight: clear counters, polished sink and stove, and visible storage space in cabinets if staged open.
- Hide: garbage bins, pet bowls, and cleaning products under the sink closed.
- Staging tip: place a bowl of fruit or a vase near the sink and keep the stove top spotless.
5) Dining area
- Declutter: paperwork, extra chairs, and mismatched placemats.
- Highlight: set the table minimally or leave it bare if busy.
- Hide: personal centrepieces and seasonal clutter.
- Staging tip: a neutral runner and two to four simple place settings photograph well.
6) Primary bedroom
- Declutter: remove personal items, visible clothing, and crowded nightstands.
- Highlight: made bed with a neutral duvet and one or two pillows, tidy floor space.
- Hide: laundry baskets, excess furniture, and visible cords.
- Staging tip: choose one focal surface, like a nightstand lamp or folded throw, to keep the frame clean.
7) Bathrooms
- Declutter: toothbrushes, razors, and shampoo bottles; clear counters.
- Highlight: polished fixtures, clean mirrors, folded towels, and a fresh bar of soap or small plant.
- Hide: personal toiletries and medications.
- Staging tip: close the toilet lid and keep shower curtains neutral or remove them for tiled showers.
8) Home office, secondary rooms, and garage
- Declutter: tangled cables, piles of paper, and hobby clutter.
- Highlight: organised desk, visible storage, and functional layouts in secondary rooms.
- Hide: personal documents, insecure valuables, and full storage boxes.
- Staging tip: show the room set to a single purpose—home office, guest room, or gym—so buyers see potential.
Agents and photographers use printable shot lists to ensure consistent coverage and to avoid missed frames; industry checklists provide standard priorities for a complete shoot.
Staging options and trade-offs: DIY, professional, or virtual
Choose a staging route based on time, budget, and how confident you feel styling the space.
- DIY staging: Low cost and fast if you are organised. Focus on declutter, neutral bedding, and one curated focal point per room. Good when you already own suitable furniture and have limited budget.
- Professional staging: A stager brings furniture and design choices that photograph well and can speed sale readiness. Professional staging is useful for vacant homes or higher-end listings but requires scheduling and additional cost.
- Virtual staging: Editors add furniture digitally to vacant rooms. It is cost effective and quick, but disclose virtual staging where required by your listing rules and avoid misrepresenting live conditions.
Photographer-facing checklist and logistics
Create a one-page sheet to give the photographer before arrival or upload it ahead of time. This reduces delays and ensures priorities are captured.
- Best light windows and recommended shoot times for each side of the house.
- Main access point, spare key location or lockbox code, and parking instructions.
- Alarm or gate codes and where to find keys.
- Pets: containment plan and emergency contact number.
- Rooms to skip or that are off-limits, and areas with safety concerns (uneven surfaces, steep steps).
- High-priority shots: exterior front, back yard, kitchen, primary bedroom, main living area, and usable bonus space.
Photographers suggest printing this sheet and placing it by the entrance; many use standard shot lists published by industry sources to validate full coverage.
Decision criteria and common seller objections

- Short notice: Prioritise living areas, kitchen, primary bedroom, and the exterior. Use the same-day quick checklist steps to make an acceptable shoot fast.
- Privacy concerns: Remove or cover personal photos, and request the photographer avoid certain frames. Ask your listing agent about image review options when necessary.
- Pets and kids: Secure pets off-site or in a closed room during the shoot. If children are present, clear play areas and store toys in bins marked for return.
- Budget limits: DIY staging plus professional photography is usually the best cost-to-impact balance. Consider virtual staging for vacant rooms that cannot be furnished affordably.
Local and seasonal notes for GTA sellers (Cambridge, Kitchener, Waterloo)
GTA sellers should add a few region-aware finishing touches: remove snow or salt from walkways in winter, clear fallen leaves in autumn, and tidy porches and driveways during all seasons. Local coordination and timing with your listing agent can reduce shoot friction; consult the Purihomes sellers guide for listing-day coordination and local tips specific to Cambridge, Kitchener, and Waterloo.
Frequently asked questions
How far in advance should I schedule listing photos and staging?
Schedule photos once major cleaning and repairs are complete, ideally within a two- to three-week window before listing to allow time for repairs and staging. If you need a quicker turnaround, use the 48-hour and same-day checklists above to prioritise key rooms.
Do I have to hire a professional stager for good listing photos?
No. Many sellers achieve excellent photos with careful DIY staging. Professional staging helps when the home is vacant or when you want a design upgrade that photographs at a higher level.
What should I do about pets and children during a photo shoot?
Secure pets in a quiet room or off-site during the shoot, and store toys and school items out of frame. Notify the photographer about pets and children so they can plan shots and timing.
How long will the photographer need in my home?
Shooting time varies by home size, but expect one to two hours for a standard single-family home and longer for larger properties or when twilight exterior shots are requested. The photographer can provide an estimated window in advance.
Can virtual staging replace an in-person staging session?
Virtual staging is a useful, low-cost option for vacant rooms and can show potential, but it should be disclosed in the listing where required. It cannot replace the tactile benefit of in-person staging for occupied homes that will host showings.
Book a quick photo-prep consult with Ashwani
If you would like a one-page photographer checklist or a 15-minute photo-prep consult to coordinate staging and shoot logistics, contact Ashwani Puri through the Purihomes site. For a printable industry shot list you can use on photo day, review a sample Real Estate Photography Checklist for Every Listing.
Key takeaway: start two days ahead, follow a tight same-day routine, and hand the photographer a clear logistics sheet so your listing photos are bright, roomy, and ready to attract buyers in the GTA. Ready to schedule a 15-minute photo-prep consult with Ashwani?